

Products to compare
Try the same shoe family with and without waterproofing
These men's Moab 3 versions make waterproofing a specific choice after length, width, heel hold, and toe room. They are examples to fit, not a universal recommendation.
Start with the regular Moab 3 for your fit check when a waterproof membrane is unnecessary. Consider the Waterproof version for the conditions you expect, but repeat the fitting checks in that exact version.
These links lead to product listings or manufacturer buying options. PriceChomp earns no commission from them. How our links work.
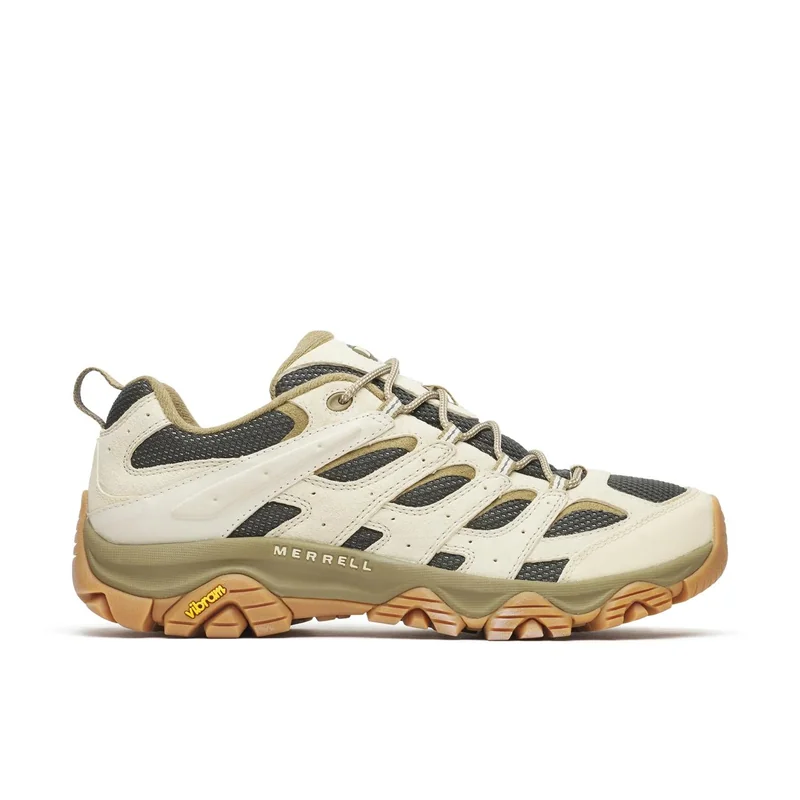
A breathable-upper fitting candidate
Merrell Men's Moab 3
Low hiking shoe with suede and breathable mesh upper; medium and wide options. Product family 52481M.
- Why choose it
- The medium and wide choices let you compare width instead of using extra length to solve a width problem.
- The tradeoff
- A familiar model name does not prove it fits your foot. Test indoors with hiking socks and preserve return eligibility.
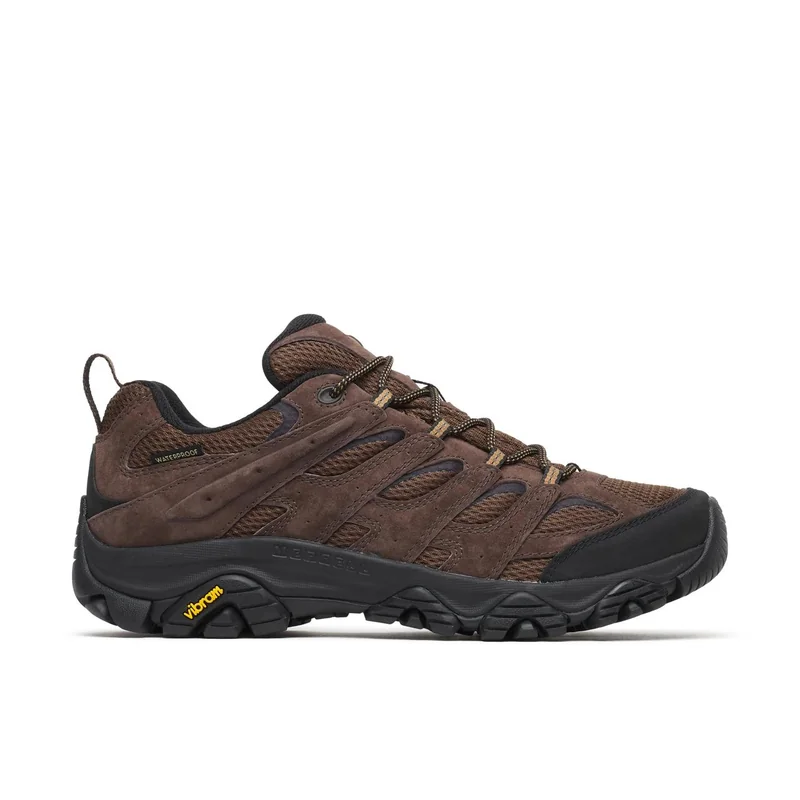
When a membrane serves the route
Merrell Men's Moab 3 Waterproof
Low hiking shoe with a waterproof membrane; select size, width, and color explicitly. Product family 52474M.
- Why choose it
- This puts a waterproof version of the same family into the comparison without changing the whole footwear category.
- The tradeoff
- Waterproofing cannot fix poor fit or prevent water entering over the collar. Check comfort and current return conditions before wearing outdoors.
Product details checked against the linked manufacturer and retailer pages. These are research-based comparisons, not hands-on tests. Check the selected model, current price, availability, and return terms before buying.
Measure late in the day and fit both feet
Feet can swell during the day and during long walks. Measure both feet while wearing the sock system you expect to hike in, then fit the larger or more demanding foot. Size labels vary by brand, last, model, gendered range, and production revision, so treat the printed size as a starting point.
Length is only one dimension. Width at the forefoot, heel width, instep volume, arch placement, toe-box shape, and ankle geometry all affect fit. A wide size may add volume in places you do not need, while a naturally foot-shaped last may solve toe pressure without making the heel loose.
Test the two failure directions
Walk uphill and check whether the heel lifts or slides. Walk downhill and check whether toes strike the front. Use stairs or an incline board when the store provides one. Lace each foot deliberately and notice whether securing the heel creates pressure across the instep.
A small amount of material flex is normal, but persistent heel movement, toe contact, numbness, hot spots, or side pressure are not break-in goals. Stiff leather can soften and a footbed can settle, but the shoe will not become longer or change its basic last.
- Heel stays seated without crushing the instep.
- Toes do not hit the front on descent.
- Forefoot can spread without side pressure.
- Arch and flex point align with the foot.
- No seam, eyelet, or cuff creates a repeatable hot spot.
Match the construction to the load and terrain
A light trail shoe can feel agile and dry quickly. A more protective shoe or boot may provide a stiffer platform, deeper outsole, toe protection, or ankle coverage. Height alone does not determine support, and more structure is not automatically safer for every hiker.
Think about pack weight, distance, pace, underfoot rock, mud, snow, off-trail travel, and how much foot strength and trail experience you bring. I prefer the least cumbersome footwear that remains comfortable and protective for the common route.
| Trip condition | Feature to examine |
|---|---|
| Hot and mostly dry | Breathability and drying speed |
| Frequent shallow water or mud | Upper construction, traction and cleaning |
| Rocky trail with a pack | Underfoot protection and stable fit |
| Cold wet conditions | Water management, insulation plan and sock space |
| Fast maintained trail | Weight, flex and secure heel hold |
Make waterproofing earn its place
A waterproof membrane can help in wet grass, shallow puddles, mud, and cold precipitation. It also reduces ventilation and can take longer to dry after water enters from the top. In warm conditions or repeated stream crossings, a quick-drying non-waterproof shoe may be the more comfortable system.
Try the final socks, insoles, gaiters, and orthotics together. Read the indoor-trial and return rules before wearing footwear outside. Then test on clean stairs and an incline while the return window remains available. My stop sign is simple: if I am already explaining away a hot spot in the living room, I do not take it to mile ten.