

Products to compare
Turn two dishwasher quotes into installed totals
These GE models offer a practical quote exercise in two finishes. A product page cannot establish what installation at your address will cost.
Choose the finish you want only after both exact models fit the opening and the written quotes include the same work. Ask for delivery, required connections, installation, and haul-away as separate line items.
These links lead to product listings or manufacturer buying options. PriceChomp earns no commission from them. How our links work.
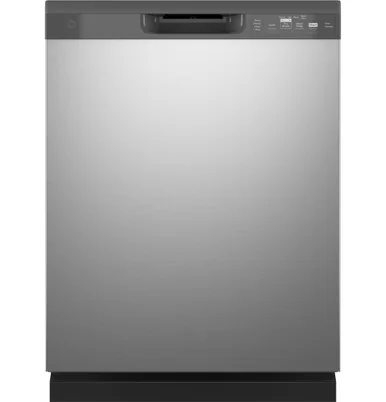
A stainless-finish project quote
GE GDF535PSRSS dishwasher
Built-in dishwasher with front controls and stainless-steel exterior; nominal 24-inch installation class.
- Why choose it
- Use the full model number when requesting an installed price and checking the installation documents.
- The tradeoff
- A nominal 24-inch label is not a fit guarantee. Verify opening height, plumbing, electrical connection, access, and retailer service availability.
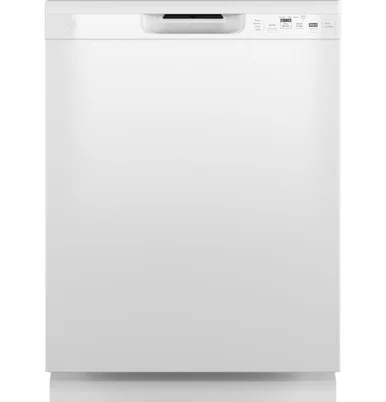
A white-finish project quote
GE GDF535PGRWW dishwasher
Built-in dishwasher with front controls and white exterior; listed width 23.75 inches for a 24-inch cutout.
- Why choose it
- This gives you a second exact model to compare with the same site conditions and service scope.
- The tradeoff
- A lower appliance price can disappear in omitted labor or parts. Confirm availability for your address and the delivery inspection process.
Product details checked against the linked manufacturer and retailer pages. These are research-based comparisons, not hands-on tests. Check the selected model, current price, availability, and return terms before buying.
Build a ready-to-use total
Start with the appliance, then add delivery tier, required hoses or cords, installation labor, permit or inspection fees, old-unit disconnect, haul-away, recycling fees, pedestal or stacking hardware, trim kits, and taxes. Show rebates separately until their requirements and payment timing are clear.
Retailers divide these services differently. “Free delivery” may mean curbside, threshold, room-of-choice, or ordinary installation only under specific conditions. Read the service description for the exact appliance and postal code, then save it with the order.
| Line item | Option A | Option B |
|---|---|---|
| Appliance after immediate discount | $____ | $____ |
| Delivery and required accessories | $____ | $____ |
| Installation and permits | $____ | $____ |
| Haul-away or disposal | $____ | $____ |
| Access or cabinet work | $____ | $____ |
| Rebate received later | ($____) | ($____) |
| Ready-to-use total | $____ | $____ |
Measure the route, not only the opening
Measure the final opening, but also exterior doors, hallways, corners, stairs, railings, elevators, counters, islands, and the space needed to tilt or turn the appliance. Confirm whether doors, drawers, handles, or packaging can be removed for delivery and who is allowed to remove them.
At the destination, record floor level, ventilation clearance, door swing, drawer pullout, adjacent trim, counter overhang, water and drain locations, electrical voltage and receptacle, gas connection, shutoff access, and exhaust route. Manufacturer installation documents outrank a retailer thumbnail diagram.
Ask what the installer will refuse
Installation crews may decline unsafe valves, corroded fittings, noncompliant outlets, inaccessible shutoffs, unsupported vents, damaged floors, hardwired connections, custom cabinetry, or work that requires a licensed trade. Refusal rules protect people and property, but they can leave a new appliance in the room without being usable.
Before scheduling, describe the existing connections accurately and ask which new parts are mandatory. Some installers will not reuse old hoses, cords, vents, or gas connectors. Price those parts from the official service list instead of treating them as surprise upsells on delivery day.
- Who disconnects the old appliance?
- Which connection parts must be new?
- Does the service include leveling and a function test?
- Who handles permits or licensed trade work?
- What happens if installation cannot be completed?
Inspect before the crew leaves
Check the model and serial labels against the order. Inspect visible panels, corners, doors, glass, controls, racks, hoses, and cords before packaging disappears. Photograph damage and the surrounding floor or cabinets. Confirm that the unit is level, doors clear adjacent surfaces, and connections show no immediate leak or fault.
Run the permitted basic function test and learn the damaged-on-arrival reporting deadline. Large-appliance return policies can be much shorter or more restrictive than general merchandise rules. I put the retailer, installer, manufacturer, and payment-card contact paths in one note before delivery, because a damaged kitchen is a poor place to start searching.